# Blog App in EHTML
<div class="date">7 March 2023</div>

In this article, I am going to explain how you can write basic blog application using [EHTML](https://github.com/Guseyn/EHTML/tree/master/src).

**EHTML (extended HTML)** is a frontend library/framework that allows you to build web apps just by focusing on HTML, meaning that the logic/functionality that you would usually write in JavaScript, you can now express via HTML.

You can find the app that I am going to describe in this article on GitHub [here](https://github.com/Guseyn/simple-oauth-app).  You can also watch the demo [here](http://www.youtube.com/watch?feature=player_embedded&v=lOf0NkNtWzI).

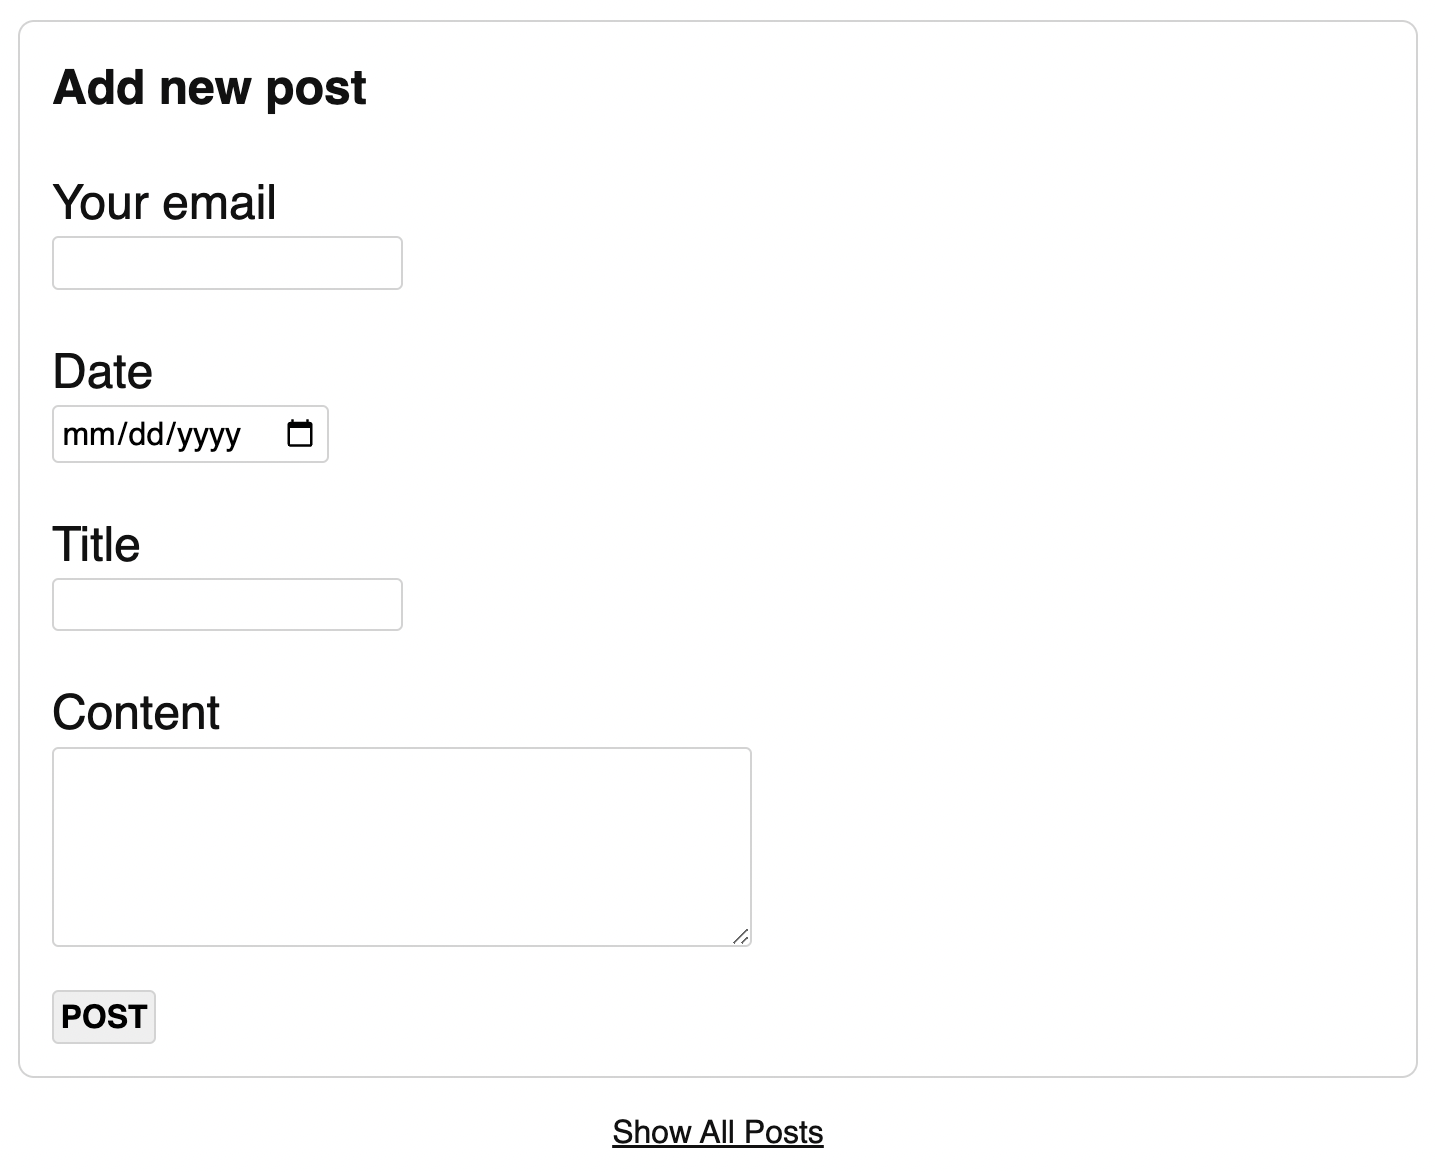
Let's start with following page:

<img src="/image/ehtml-blog-app-1.png" alt="main-page">

This is an index page, let's take a look at the source:

```html
<!DOCTYPE html>
<html xmlns="http://www.w3.org/1999/xhtml" lang="en">
  <head>
    <title>Blog App</title>
    <meta charset="UTF-8">
    <meta name="viewport" content="width=device-width, initial-scale=1">
    <meta name="author" content="Guseyn">
    <link rel="shortcut icon" type="image/png" href="/../image/favicon.png">
    <link rel="stylesheet" href="/../css/normalize.css" type="text/css">
    <link rel="stylesheet" href="/../css/main.css" type="text/css">
    <script src="/../js/ehtml.js" type="text/javascript"></script>
  </head>

  <body>
    <div class="base">
      
      <e-html data-src="/../html/add-post.html"></e-html>
      <e-turbolink class="page-link" data-href="/../html/posts.html?page=0&size=3">
        Show All Posts
      </e-turbolink>

    </div>
  </body>
</html>
```

There are few things that's worth attention:

1. We load our ehtml lib just via `<script>` tag.

2. We're using `e-html` tag to load snippet of some of other html code. More info on this tag you can find [here](https://github.com/Guseyn/EHTML#supported-elements).

3. We're using `e-turbolink` tag to redirect to the the list of all posts. More info on this tag you can find [here](https://github.com/Guseyn/EHTML#supported-elements)

Let's take a look at the form that we're a going to build:

```html
<div class="blog-box">
  
  <div class="title">Add new post</div>

  <e-form
    data-validation-error-message="Enter correct data into the form, please"
    data-validation-error-class-for-message-box="form-message-error">
    <div class="input-label">Your email</div>
    <input
      type="email" 
      name="userEmail"
      required
      data-validation-pattern="email"
      data-validation-bad-format-error-message="This is not proper email address"
      data-validation-absence-error-message="Email is required"
      data-validation-error-class-for-element="elm-error"
      data-validation-error-class-for-message-box="message-error">

    <div class="input-label">Date</div>
    <input
      type="date"
      name="date"
      required
      data-validation-pattern="date"
      data-validation-absence-error-message="Post date is required"
      data-validation-error-class-for-element="elm-error"
      data-validation-error-class-for-message-box="message-error">

    <div class="input-label">Title</div>
    <input
      type="text"
      name="title"
      required
      data-validation-error-class-for-element="elm-error"
      data-validation-error-class-for-message-box="message-error">

    <div class="input-label">Content</div>
    <textarea
      name="content"
      required
      data-validation-error-class-for-element="elm-error"
      data-validation-error-class-for-message-box="message-error"></textarea>

    <button
      data-request-url="/../post/new/"
      data-request-method="POST"
      data-ajax-icon=".ajax-icon"
      onclick="this.form.submit(this)"
      data-response-name="response"
      data-actions-on-response="
        redirect(`/../html/post.html?id=${response.body.id}`)
      ">
      POST
    </button>
    <img class="ajax-icon" src="/../images/ajax-icon.svg"/>
  </e-form>

</div>
```

Here we're declaring `e-form` tag with different validation messages(for the whole form and its input fields) and also css class names for them:

```css
.elm-error {
  border: 1px solid red;
}

.message-error {
  color: red;
}

.form-message-error {
  text-align: center;
  color: red;
  font-family: sans-serif;
}
```

The main difference between default form and `e-form` is that we send payload to the server as JSON. Attribute `name` of each input field is used as a key in the `JSON` payload. We can add attributes like `require` and `data-validation-pattern` for frontend validation.

In the button in the form you can specify details of the endpoint that waits for the payload. Here you specify url, type of the request, you can even specify the selector for the ajax loading icon. Another interesting details is attribute  `data-response-name`. Here you specify the name of the response, which consists of `body`, `headers` and `statusCode`. And then in the `data-actions-on-response` you can specify an action for the response. Here we reidrect to the new post. More information you can find on actions on response you can find [here](https://github.com/Guseyn/EHTML#supported-actions-on-response).

When you open a post, you would see something like this:

<img src="/image/ehtml-blog-app-2.png" alt="post-page">

Let's see how we can build the page above:

```html
<body>
  <div class="base">
    
    <template is="e-page-with-url" data-url-pattern="/html/post.html?{id}">
      
      <div class="blog-box">
        
        <e-json 
          data-src="/../post?id=${urlParams.id}" 
          data-ajax-icon="#post-ajax-icon"
          data-response-name="postResponse"
          data-actions-on-response="
            mapToTemplate('#post-template', postResponse)
          ">
          <img class="ajax-icon" id="post-ajax-icon" src="/../images/ajax-icon.svg"/>

          <template id="post-template" data-object-name="postResponse">

            <template is="e-if" data-condition-to-display="${postResponse.statusCode === 404}">
              <div class="not-found">Post Not Found</div>
            </template>

            <template is="e-if" data-condition-to-display="
              ${postResponse.statusCode === 200}
            ">

              <div class="post-box">
                <div class="title" data-text="${postResponse.body.title}"></div>
                <div class="user-email" data-text="${postResponse.body.userEmail}"></div>
                <div class="date" data-text="${postResponse.body.date}"></div>
                <div class="content" data-text="${postResponse.body.content}"></div>
              </div>

              <div class="comments-box">
                
                <b>Comments:</b>
                <template is="e-if" data-condition-to-display="
                  ${postResponse.body.comments.length === 0}
                ">
                  <div id="no-comments-message">No Comments yet. Be the first to comment.</div>
                </template>

                <template is="e-if" data-condition-to-display="
                  ${postResponse.body.comments.length !== 0}
                ">

                  <template is="e-for-each"
                    data-list-to-iterate="${postResponse.body.comments}"
                    data-item-name="comment"
                  >
                    <div class="comment-box">
                      <div class="user-email" data-text="${comment.userEmail}"></div> 
                      <div class="comment-content" data-text="${comment.content}"></div> 
                    </div>
                  </template>

                </template>
                  
                <template id="comment-template" is="e-reusable" data-object-name="comment">
                  <div class="comment-box">
                    <div class="user-email" data-text="${comment.userEmail}"></div> 
                    <div class="comment-content" data-text="${comment.content}"></div> 
                  </div>
                </template>

                <e-form 
                  style="margin-top: 2em;"
                  data-validation-error-message="Enter correct data into the form, please"
                  data-validation-error-class-for-message-box="form-message-error">
                  <div class="input-label">Your email</div>
                  <input
                    id="email-input"
                    type="email" 
                    name="userEmail"
                    required
                    data-validation-pattern="email"
                    data-validation-bad-format-error-message="This is not proper email address"
                    data-validation-absence-error-message="Email is required"
                    data-validation-error-class-for-element="elm-error"
                    data-validation-error-class-for-message-box="message-error">

                  <div class="input-label">Comment</div>
                  <textarea 
                    id="comment-text" 
                    required
                    data-validation-error-class-for-element="elm-error"
                    data-validation-error-class-for-message-box="message-error"
                    name="content"></textarea>

                  <button
                    data-request-url="/../comment/new?postId=${postResponse.body.id}"
                    data-request-method="POST"
                    data-ajax-icon="#comment-ajax-icon"
                    data-response-name="response"
                    onclick="this.form.submit(this)"
                    data-actions-on-response="
                      mapToTemplate('#comment-template', response.body)
                      changeValueOf('#email-input', '')
                      changeValueOf('#comment-text', '')
                      hideElms('#no-comments-message')
                    "
                  >
                    Send
                  </button>
                  <img class="ajax-icon" id="comment-ajax-icon" src="/../images/ajax-icon.svg"/>
                </e-form>

              </div>

            </template>

          </template>

        </e-json>

      </div>

      <e-turbolink class="page-link" data-href="/../html/posts.html?page=0&size=3">
        Go To All Posts
      </e-turbolink>

      <e-turbolink class="page-link" data-href="/../html/index.html">
        Add New One
      </e-turbolink>

    </template>

  </div>
</body>
```

You can see a lot of different elements in the page above, let go through them one by one.

The template with `is="e-page-with-url"` allows us to parse url parameters on a page, and then we can access them via `${urlParams.keyName}` in the attributes of other elements. Since it's a template, it will be rendered with mapped url params once it parsed the url.

Inside of the `e-page-with-url` template we got `e-json`. This element allows us to fetch JSON response, and as you see we're mapping that response on specified template via method `mapToTemplate`.

Inside of `e-json` you can see first `e-if` template, it gets rendered if only satisfies the condition in `data-condition-to-display` attribute. There we're checking whether the status code of the response is 400, so we can say to the user that the requested post is missing.

Another `e-if` template gets activated when status code is 200. There we got following snippet:

```
<div class="post-box">
  <div class="title" data-text="${postResponse.body.title}"></div>
  <div class="user-email" data-text="${postResponse.body.userEmail}"></div>
  <div class="date" data-text="${postResponse.body.date}"></div>
  <div class="content" data-text="${postResponse.body.content}"></div>
</div>
```

As you see we can map the details of the post on the HTML element.

Like for the posts, we can create a form for the comments via `e-form`. There we're also checking whether the post does not have aany comments. In case when a post has comments, we displaying each of them via `e-for-each`. By using `data-list-to-iterate` and `data-item-name` we can map each element of the list on the template. When you add a comment, it will be mapped to the template with `e-reusable` attribute. It means that we can use this template again, and it does not get destroyed like in other cases before.

This is how list of comments looks like:

<img src="/image/ehtml-blog-app-3.png" alt="main-page">

Finally, let's explore how we can build a page with list of posts with pagination:

<img src="/image/ehtml-blog-app-4.png" alt="main-page">

Let's take a look at the source:

```html
<body>
  <div class="base">
    
    <template is="e-page-with-url" data-url-pattern="/html/posts.html?{page}&{size}">
      <div class="blog-box">

        <e-json 
          data-src="/../posts?page=${urlParams.page}&size=${urlParams.size}"
          data-ajax-icon="#posts-ajax-icon"
          data-response-name="postsResponse"
          data-actions-on-response="
            mapToTemplate('#posts-template', postsResponse)
          ">
          <img class="ajax-icon" id="posts-ajax-icon" src="/../images/ajax-icon.svg"/>
          
          <template id="posts-template" data-object-name="postsResponse">
            
            <template is="e-if" data-condition-to-display="
              ${postsResponse.body.posts.length === 0}
            ">
              <div class="no-content-message">No posts yet</div>
            </template>
            
            <template is="e-if" data-condition-to-display="
              ${postsResponse.body.posts.length !== 0}
            ">

              <template is="e-for-each"
                data-list-to-iterate="postsResponse.body.posts"
                data-item-name="post">
                
                <div class="post-box">
                  <div class="title">
                    <e-turbolink 
                      data-text="${post.title}"
                      data-href="/../html/post.html?id=${post.id}">    
                    </e-turbolink>
                  </div>
                  <div class="user-email" data-text="${post.userEmail}"></div>
                  <div class="date" data-text="${post.date}"></div>
                  <div class="content" data-text="${post.content}"></div>
                </div>

              </template>
              
              <template is="e-if" data-condition-to-display="
                ${urlParams.page * 1 > 0 }"
              >

                <e-turbolink class="page-link"
                  data-href="/html/posts.html?page=${urlParams.page * 1 - 1}&size=${urlParams.size}">
                  << Show prev. page
                </e-turbolink>

              </template>

              <template is="e-if"
                data-condition-to-display="${!postsResponse.body.lastPage}">

                <e-turbolink class="page-link"
                  data-href="/html/posts.html?page=${urlParams.page * 1 + 1}&size=${urlParams.size}">
                  Show next. page >>
                </e-turbolink>

              </template>

            </template>

            <e-turbolink class="page-link" data-href="/../html/index.html">
              Add new post
            </e-turbolink>

          </template>

        </e-json>
        
      </div>
    </template>
    
  </div>
</body>
```

You can notice that we parse our url with pagination params: `size` and `page` via attribute `data-url-pattern="/html/posts.html?{page}&{size}"`. This way we can use those params in `e-json` to get reqested articles and also we can detect whether we should put the link to the next page.

So, it's quite straightforward and declarative approach how you can encapsulate the logic right into the HTML.

[Reddit Comments](https://www.reddit.com/user/gyen/comments/11lbupc/blog_app_in_ehtml/) / [HN Comments](https://news.ycombinator.com/newest) / [Medium Comments](https://medium.com/@guseynism/blog-app-in-ehtml-93a0aacaed1d)

### References:
* [Blog app on GitHub](https://github.com/Guseyn/ehtml-simple-blog-app)
* [EHTML](https://github.com/Guseyn)
